Today I am not sharing a recipe with you as I decided that I want to present something a bit more different. I know I need some change in my life and I know it is about time to start working on myself as I want to get to the healthiest form I have ever been. I have made a water challenge at the beginning of the year and since then I am keep drinking at least 3 liters a day. Also I did a sugar one and I stopper craving sweets or junks. This why for me they work and that's why a kickstart one is here for you too.
While creating it I was thinking of it as really being challenging and complex. It is meant to force you to be creative and thoughtful when choosing your meal, snack and also to encourage you to start cooking on your own. This way you will find yourself not only eating different food everyday, but also feeling better at the end of the week. After finishing I am completely sure you will keep up with the good habits and will change the way you look at yourself.
This is not something that will make you lose weight, fat or muscle. This is not a diet and you should still keep track on your macros and calories. The challenge can be adjusted to any sort of eating habits, regardless. You will feel a lot more energized, refreshed and you will not have the same cravings. If you decide to do it just keep in mind that you would need to spend a lot more time reading labels, cocking your food, packing your lunch and preparing, but it is just a week and you can do it!
There are 10 different things you should think about all week long. I have made a list with them so I can have it on me and check how many I have done at the end of the day. So lets get started!
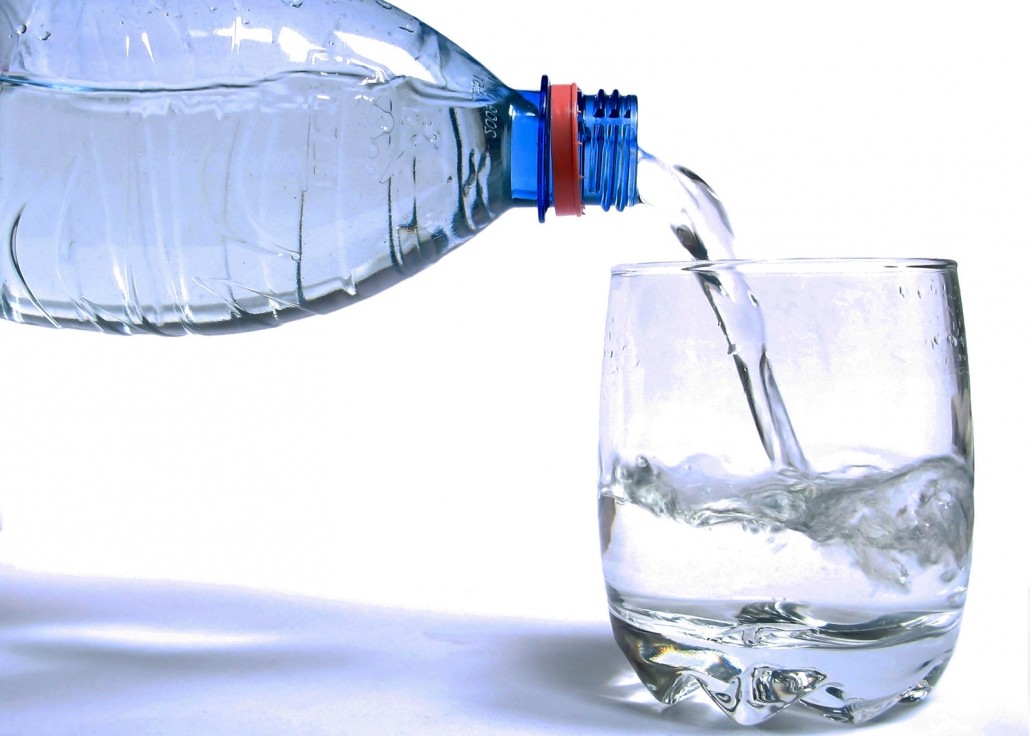
1. Drink at least 3 liters of water every day.
Water is super important for your body as it helps flush out any toxins so your body can function normally. When you are hydrated you not only feel better, but look better as well - your skin is glowing, your lips are super soft and your tummy is in place. You will not feel bloated and will release all extra water your body keeps, so you will be light and happy. And by 3l of water I mean 3l of pure water, no tea or juice, but water. My little tricks for drinking more of it are a few, but simple - I infuse it with a bit of lemon or lime juice, drink it cold from a nice water bottle and make sure that that I always have it on hand. When I look at it I remember to drink more often.
2. Workout.
At least 20 - 30 min a day will be enough to get your metabolism nice and fast, your body strong and healthy. You will feel and sleep better, and if you are consistent you will also start looking better with nice and lean muscles. The 18 grocery bags on one go will be just a breeze and you will never ever feel tired when taking the stairs. Your heart rate will go up and it will be ok, because you are strong. All you need to do is to spend some time rewarding your body with a workout you enjoy doing everyday. Weather it will be gym, dances at home, a nice run make sure to challenge yourself and enjoy it. You will not be sorry.
3. Eat more veggies.
You've heard it before, but eating the rainbow is amazing for you as each color means that the fruit or vegetable is high in certain vitamins and minerals. The more colorful your meals is the more healthy micro nutrients you get. But this does not mean you can eat chips all day "cuz it is a potato", and you will see why in just a minute. You want to make sure that you eat a wide range of veggies in salads and meals, it does not have to be boring and tasteless. Dress them up with some rich dressing, roast them, add them to some meat, put them on top of some pizza or in smoothies, come up with new combinations - it is all up to you. The goal here is to increase your daily veggies intake so you have to eat as much vegetables as possible.
4. No food after 8pm.
Yep that's right. You should not only eat your dinner before 8pm, but you would also need to stop with all snacking after that as well. This will hep your body with digestion and you will sleep better. Also when you wake up your tummy will be looking gorgeous and flat since you will not be bloated. When you sleep your your body sleeps as well and is having hard times taking care of all that after dinner snack, so it all turns into fat and no one wants that right?
5. No alcohol.
Let's be honest - alcohol is just empty calories that you do not need. When drinking we also tend to eat more, then we feel bloated and it is just not good for ourselves. This week we say no to alcohol - we can do it!
6. Nothing processed and no junk food.
The reasons here are endless. It is high in tons of unknown ingredients and sodium that makes you feel bloated and retain water. It is high in unhealthy fats and sugars, too much fast carbs, low in everything else. It gives you nothing because it is so highly processed. Instead you can try preparing it at home. Popcorn in a pot, veggie chips in the oven, whole wheat pancakes with honey, roasted nuts - there are so much healthier options. The rule is simple - if it requires a label, you don't need it.
7. No added sugar.
Why not try some alternatives like agave syrup, honey, coconut sugar, molasses in you coffee or desert if you crave it so much? However you would need to stay away from everything that contains added sugar - basically all sweets. Here is the moment when you need to start reading labels. If it does say that there is sugar in it - you do not need it. And don't try to buy those sugar free bars - they are still -processed food. If you crave something sweet so badly why not try making some oat cookies, or my super delicious energy bites. You can still eat fruits as much as you want and that include non sugar coated dried fruits as well. The white refined sugar that is added to everything you can buy in store only spikes your blood sugar, you get energized super fast, but the effect lasts just a little, so you start craving sweets again and in the end of the day you have eaten so much empty calories that you don't need. Trust me there are a lot better options for you.
8. No refined flour.
You might think you cannot live without white bread, muffins, cupcakes, pizza and all sorts of sweet and savory pastries and let me tell ya I LOVE MY CARBS as well. And with this challenge you don't have to stop enjoying them - all you need to so is to start making them yourself or start reading the labels it the store. If it contains refined white flour you need to leave on the shelf. And it does not matter what is the flower made of - rice, wheat, corn. We are trying to make sure we eat as much non processed foods as possible. Everything refined, including rice, has almost no nutritional value. The real whole grain flour is made out of the whole grain - bran, germ and endosperm. The refined one only contains the endosperm of the grain, which bring almost nothing to your body to use. When bread and the flower you use are whole grain you will be eating food super rich in fiber and antioxidants. And let me tell you whole grain pancakes are delicious.
9. No white rice.
The deal with white rice is the same as flour. Rice in general is super easy, cheap and delicious food and it is also considered super health, but are you eating the best rice on the market? When eating white rice, that has been stripped from its husk your body does not make any difference between it and a piece of cake. Just like the refined sugar and flour, the white rice spikes up your blood sugar and you feel full for a short period of time. Shortly after consuming it you are hungry again, your body has processed the carbohydrates super quickly and now they are stored as body fat, but you are still hungry. But brown rice is here to save you. It does take a little longer to cook and the taste is slightly nutty, but you will feel full for longer and will not be eating empty calories with no nutritional value. You can also pre-cook it and freeze it for an easy meal base. In you do not believe me just check a few labels next time you shop in store.
10. No refined oils.
As we already know everything processed is not good for you, so the oil you use makes no difference. When cooking at home make sure that you use unrefined animal or vegetable fat. You can surely use cold pressed olive oil or coconut oil for your meals, animals grease or butter is also great option even for backing. The unrefined alternatives of the different vegetable oils are full of healthy fats, amino acids and antioxidants that help you be regular and also are less likely to make you feel bloated. The refined kind is usually with very light color and taste, while the unrefined one is not as clear, the color is darker and the taste is stronger. Just a few drops of it are enough to add a whole lot of taste you your meals and salads.
I know is seems like a lot to do, but trust me, once you finish the week you will feel so much better, that you might want to keep up with some of these healthy habits.